When a supplier/provider is integrated via APIs, inventory updates happen automatically. However, for FTP (SFTP)–based suppliers, the inventory needs to be uploaded manually.
To make this easier, the Client Portal supports two ways to update FTP supplier data:
- Upload the file via SFTP (FileZilla) and process it from the Client Portal
- Upload and process the file directly from the Client Portal
You can choose the method that you are more comfortable with.
Method 1: Upload via SFTP (FileZilla or any other tool) and process from the Client Portal
First, create a CSV (.csv) file using our standard mapping format.
Next, upload the file to your SFTP server using an SFTP client (for example, FileZilla).
The folder structure must follow the format below:
[FTP Root]/[DATE]/[SupplierName]/[AccountID__AccountID__SupplierName]
Example:
18122019/HotelBeds/johndoe__johndoe__HotelBeds
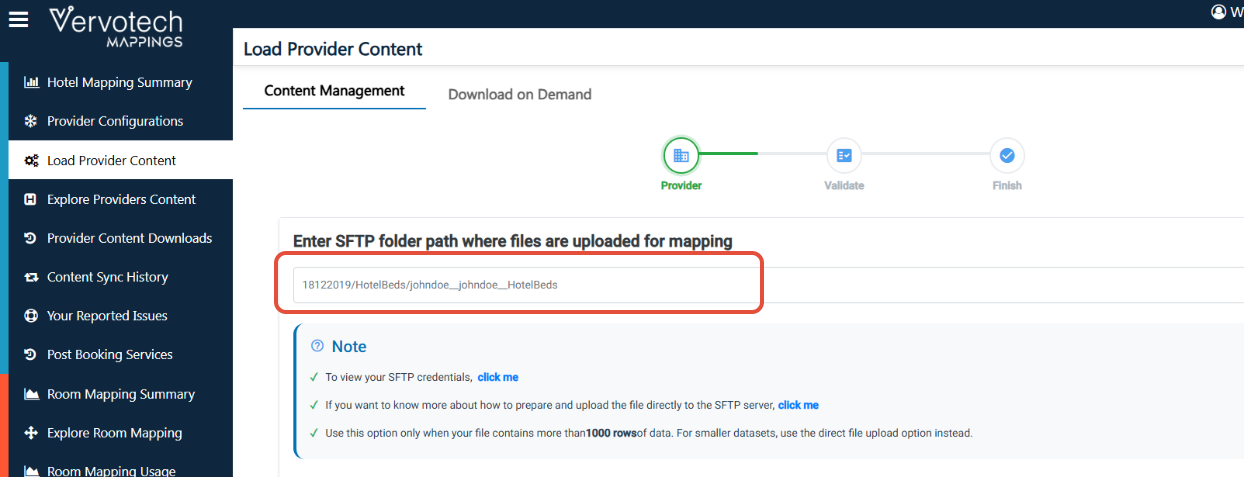
Once the file is uploaded, go to Load Provider Content in the Client Portal and select
 “Yes, I already prepared and uploaded the properties file(s) to the SFTP server.”
Enter the exact SFTP folder path, Example- 18122019/HotelBeds/johndoe__johndoe__HotelBeds as seen in the below screenshot-
After this validate the headers by mapping the correct column in the file with the Vervotech format. (To avoid any discrepancy please ensure that the headers in your file exactly match our file format.)
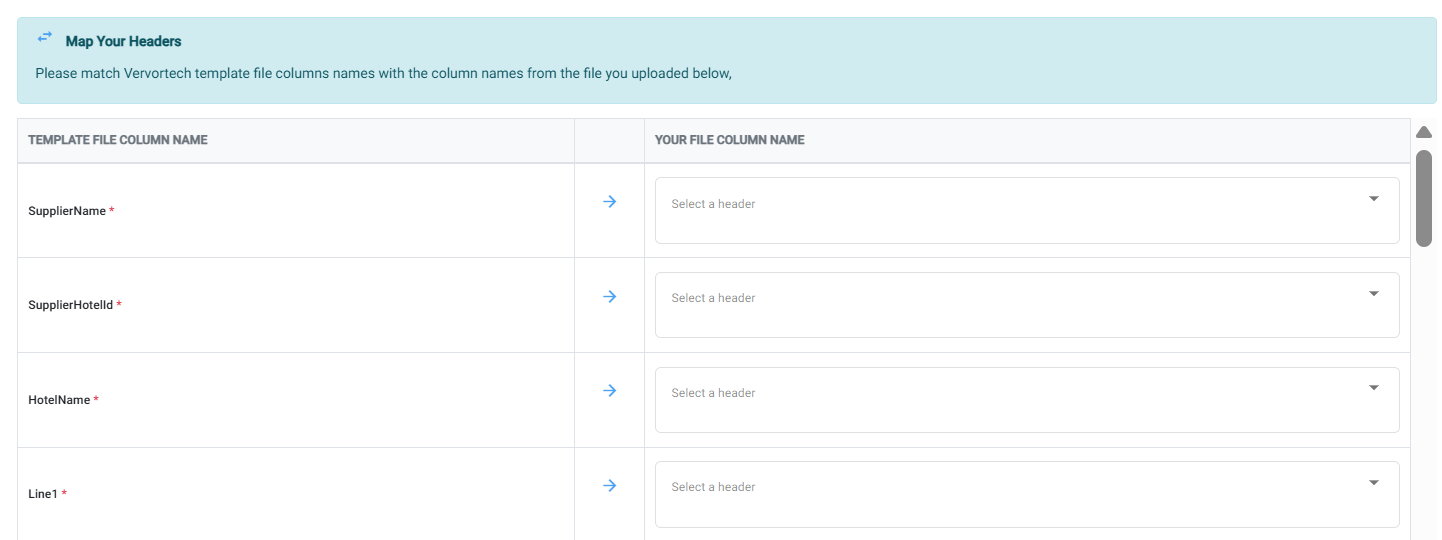
After validation, please proced to press the "Confirm Mapping" button.
(Incase any header is missing, there will be a ribbon below prompting you about the same. You need to ensure all header columns are present. You may not have information for each column, you can leave those columns blank but it is necessary to have all the headers as per the file format. The mandatory)
Once you press confirm the file processing will start and you will be directed to the next screen confirming that the file is now in process.
You can go check the status in the client portal on "Provider Content Downloads" Tab
Method 2: Upload and process directly from the Client Portal
(Recommended for smaller files)
Create a CSV (.csv) file using the same standard mapping format.
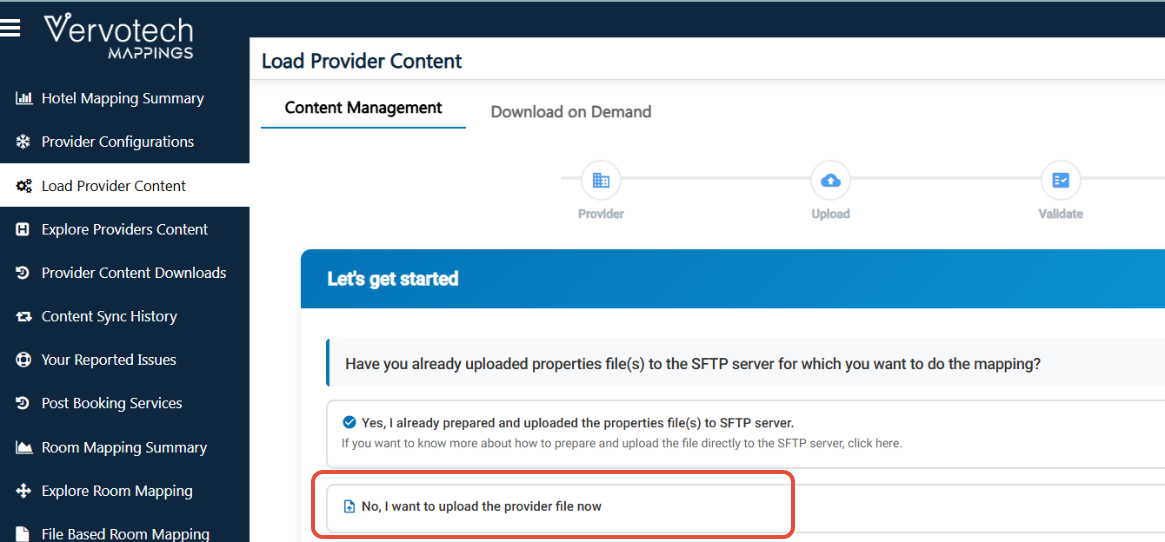
Then, go to Load Provider Content in the Client Portal and select -“No, I want to upload the provider file now.”
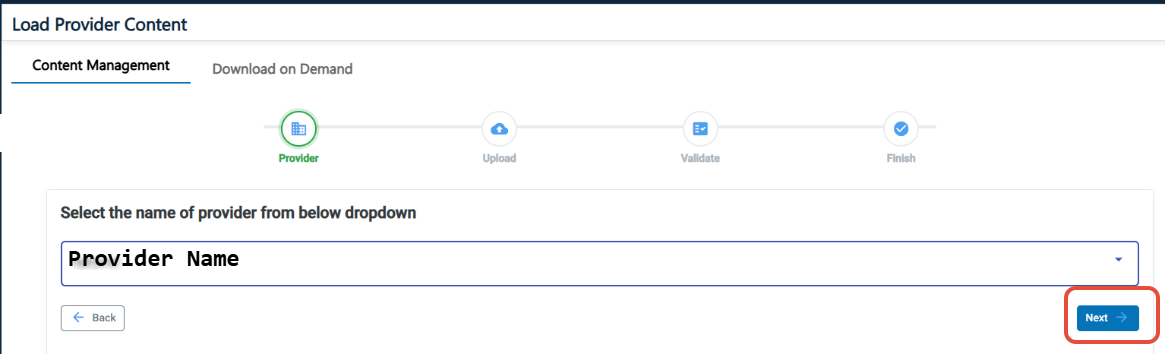
Select the FTP provider from the dropdown list by clicking the "Select Provider" Tab
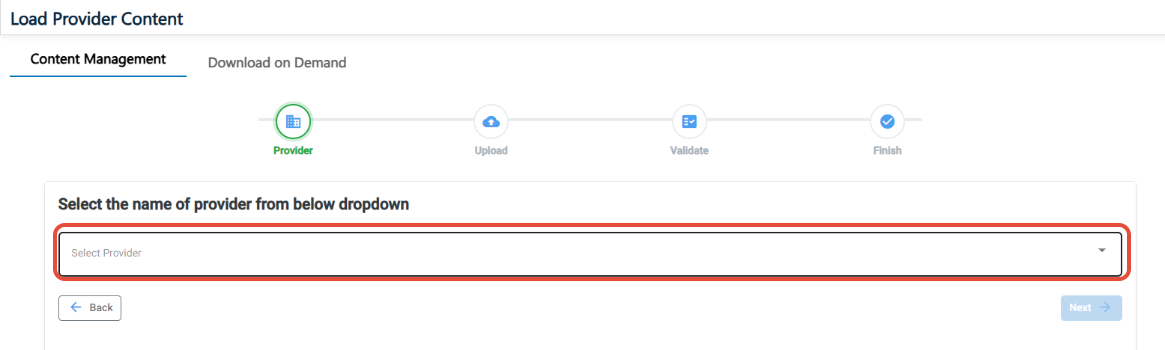
Once you select the provider, the "Next" button will get activated. Click on it to proceed.
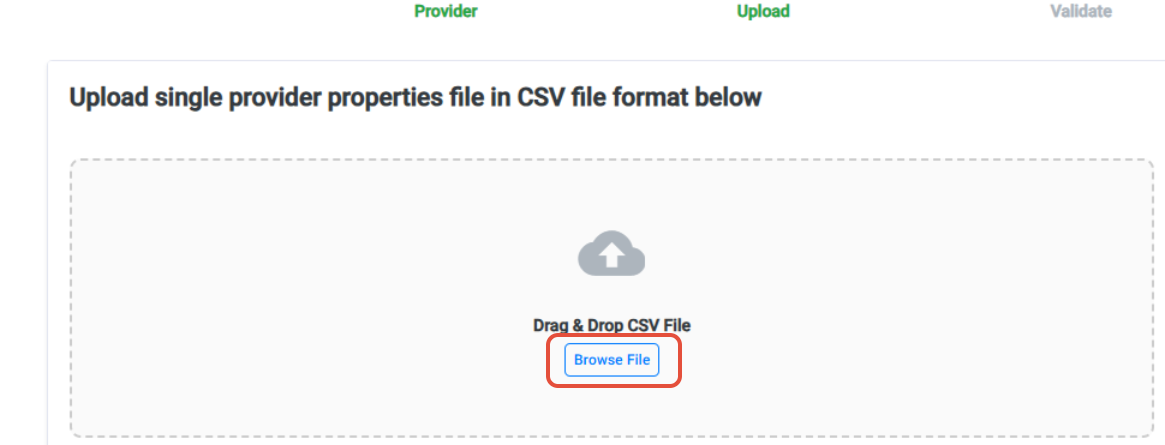
Upload the CSV file directly from your system by clicking on "Browse File" option
Once the file has been selected, it will show the file name below.
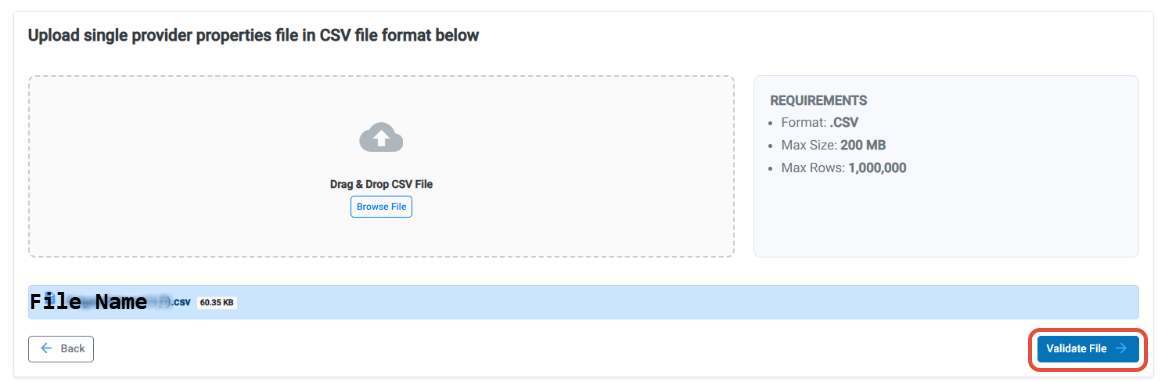
Then click on validate file to proceed to the next page.
If the file passes all validation checks, it will show "Validation Passed". (If your file does not pass the validation checks, please re-check to see if it meets the standard mapping format.)

Then click on "Upload to Server"
Your file will now be processed.
You can go check the status in the client portal on "Provider Content Downloads" Tab.
Important recommendations
- Use the SFTP (FileZilla) method for files with more than 1,000 rows
- Use the direct upload method for smaller datasets
- Always follow the standard format and folder structure to ensure smooth, hassle-free incremental updates